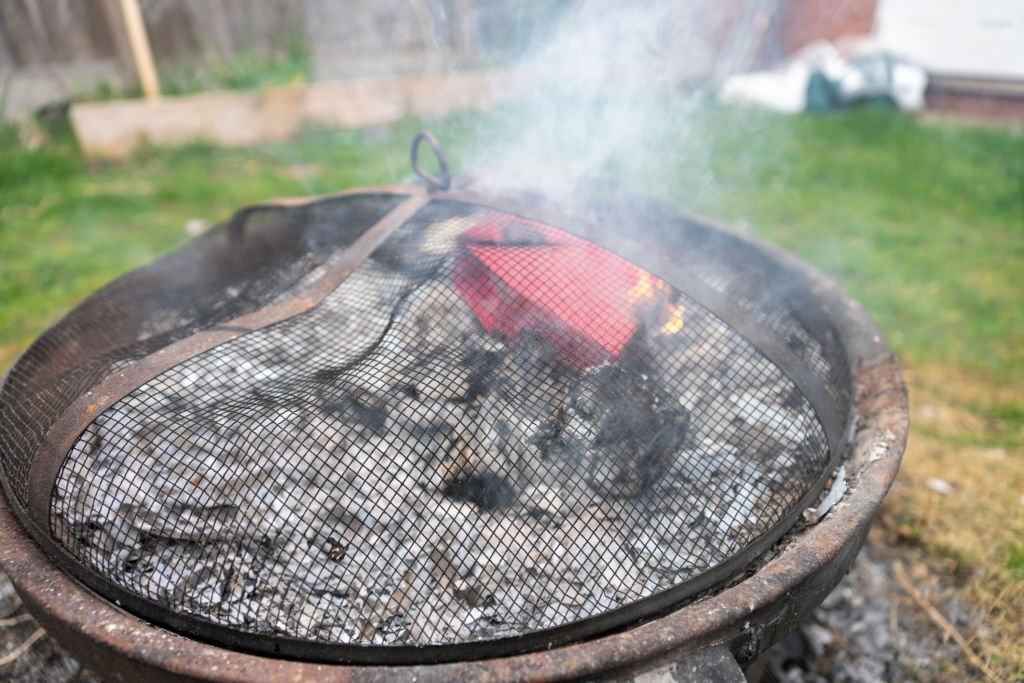
You may use your fire pit or haven’t even burned a dry leaf in it for ages. According to Handy, uncovered fire pits are an opportunity to add another hangout place in your home. Whether you use it or not. With a fire pit cover. You can make the fire pit into a table when you aren’t basking in its warmth. Here’s how you can do it:
The Details
1. Resources needed
Making a firepit cover involves moderate difficulty if you are into woodworking. You should have all the tools and setup for this project.
Besides, you need materials like 8-inch long boards of pine or cedarwood. You also need a couple of 6-inch boards. Apart from that. You need glue, deck screws, sandpaper, outdoor stain or paint, and more. For tools, you need a miter saw, an orbital sander, a jigsaw, and a few other familiar tools.
2. Cut and mark about Fire Pit Cover
Cut the boards in half and stack them at right angles to each other to create a cover with extreme durability. Mark the center of the board with a pencil and make sure to account for knots. The side that faces up at the moment will become the bottom of your cover so be mindful of that.
3. Make a circle
Lightly hammer a nail into the center of the circle and tie a string to it. According to the diameter of your fire pit cover, measure the string to the appropriate radius, and tie a pencil at the end to draw a circle around the center. Don’t pull too hard on the string since the boards aren’t glued together yet.
4. Glue and screw
Set aside the boards that make your top layer and squeeze out glue generously on the surface of the bottom layer. Be quick so that the glue doesn’t start drying. Place the top layer of boards on the bottom layer that has glue and try to reform them properly so that the drawn circle is re-aligned.
Since these boards are larger than clamps used in most home garages, you need to screw the boards together. Use 1 1/4-inch deck screws to keep the boards together. The drawn circle is your guide and make sure you screw outside it.
5. Draw and cut again
After screwing the boards draw the circle dark enough. So that it is easily visible and waits for several hours till the glue is cured. After the glue has dried off and the planks are bound together. Follow the circle and use a jigsaw to cut out a circle.
6. Sand and finish
After the circle is cut, sand the surfaces as well as the edges with an orbital sander. After you are satisfied with the smoothness finish the wood with an outdoor stain or paint to protect your frame from the onslaught of natural elements.
In the end, you can screw in handles on the cover so that you can easily move it over or remove it from the fire pit.
Conclusion Fire Pit Cover
Handy suggests that you get on with this DIY project as quickly as you can since. It allows you to protect the fire pit. When it isn’t used and also gives you an outdoor table that makes your outdoor space more fun.

